Cinnamoroll is one of the cutest Sanrio characters, with those fluffy ears and a sweet face. If you’re a fan, you’ve probably thought about drawing him. This guide is all about making that happen.
We’ll break it down into simple, easy-to-follow steps. By the end, you’ll have a completed, adorable drawing of Cinnamoroll. And the best part?
You’ll be able to do it again and again. The entire character is built from basic shapes like circles, ovals, and curved lines. So, even if you’re new to drawing, you won’t feel overwhelmed.
Let’s get started!
Gathering Your Simple Art Supplies
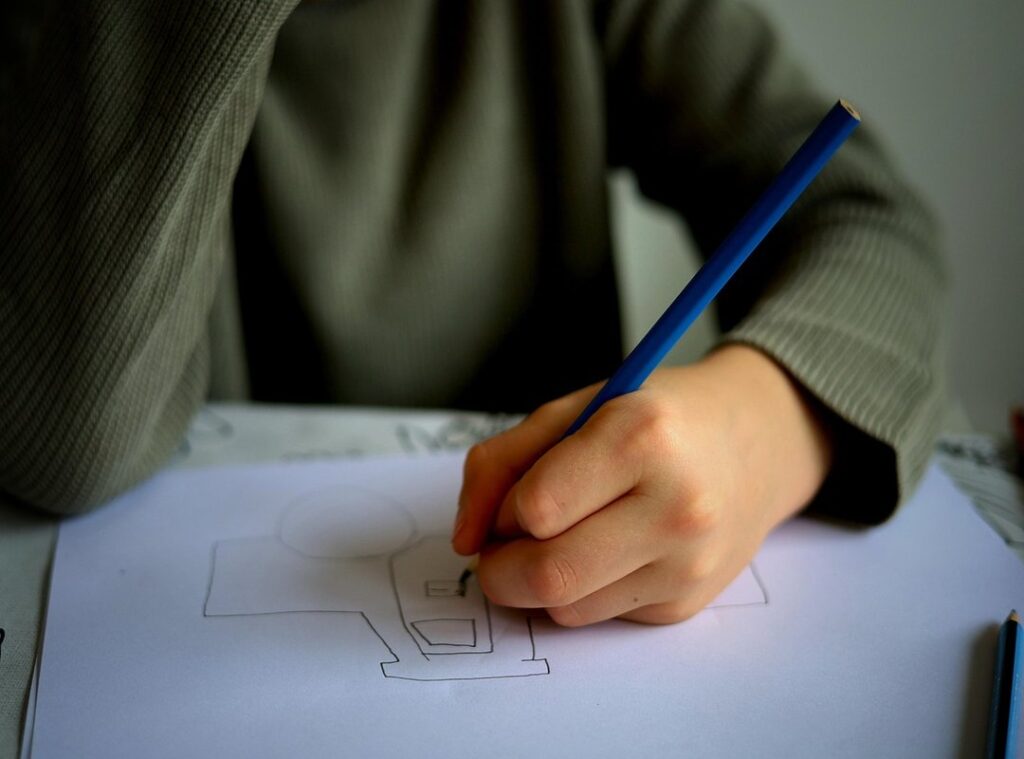
Let’s get started with the basics. You’ll need a standard HB pencil for sketching, a quality eraser that won’t smudge, and some clean drawing paper. These are your essentials.
Optional supplies can really make your drawing pop. Think about a black fine-liner pen for outlining and a set of colored pencils or markers for adding color. They’re not must-haves, but they sure do add a nice touch.
Using an HB pencil allows you to make light initial sketches that are easy to erase and correct. This is crucial for getting those lines just right without leaving a mess behind.
Pro tip: Start with very light pressure on the pencil. This is key to a clean final drawing without messy erased lines. It makes all the difference in the world.
Set up in a comfortable, well-lit space. This will make the drawing experience more enjoyable and focused. Trust me, good lighting can change everything.
Whether you’re cinnamoroll tekenen or just doodling, having the right tools and setup can make your art session a lot more fun and productive.
Breaking Down Cinnamoroll’s Basic Shapes
Before starting the full drawing, it’s a good idea to analyze the character’s construction. This can really build your confidence.
The head is a large, fluffy, cloud-like shape—wider than it is tall. It’s like a soft pillow of fluff.
Cinnamoroll’s ears are two very long, droopy ovals. They’re one of his most recognizable features, and think of them as floppy and relaxed.
The body is a small, simple, bean-like shape that sits directly under the much larger head. It’s almost like a little bean nestled under a big cloud.
And let’s not forget the iconic tail. It’s a simple swirl that looks exactly like a miniature cinnamon roll. It’s what makes cinnamoroll tekenen so charming and unique.
I’ll be honest, getting the proportions right can take some practice. But once you get the hang of these basic shapes, you’ll be on your way to creating a cute and accurate Cinnamoroll.
Step-by-Step: Sketching Cinnamoroll’s Head and Face
Let’s get started with the basics. First, draw a large, slightly flattened circle for the head. Add faint horizontal and vertical guidelines through the center.
Keep these lines light; they’re just your guides.
Next, place the eyes on the horizontal guideline. Think of them as two large, simple blue ovals. Space them about one eye-width apart.
This spacing is crucial for getting that adorable, balanced look. cinnamoroll tekenen
Now, let’s tackle the mouth. Draw a small, cute ‘w’ shape centered on the vertical guideline, just below the eyes. The simplicity of this shape adds to Cinnamoroll’s charm.
Don’t forget the rosy cheeks! Draw two small pink ovals on either side of the face, positioned slightly below the eye line. These add a touch of cuteness and warmth to the character.
Throughout this process, keep all your pencil lines light and loose. Remember, these are just the initial sketch marks that will be refined later. It’s all about getting the proportions right at this stage.
Cinnamoroll tekenen can be a fun and rewarding experience, especially when you pay attention to these details. Trust me, it makes a big difference in the final result.
Bringing Him to Life: Drawing the Body, Ears, and Tail
Alright, let’s get into the nitty-gritty.
First up, the body. Draw a small, chubby body directly underneath the head. Remember, it should be significantly smaller than the head.
This is key for getting that cute, chibi look.
Next, let’s tackle those long, floppy ears. Start from the top sides of the head and have them hang down, curving gently as they fall past the body. Think of them like soft, flowing ribbons.
- Start at the top of the head.
- Let them hang down, curving slightly.
- Make sure they extend past the body.
Now, for the signature tail on his lower back. Here’s how to create that iconic spiral:
- Start with a small dot.
- Begin swirling outwards in a smooth, continuous motion.
- Keep the lines even and consistent.
Once you’ve got the basic shapes, it’s time to refine your drawing. Go over your preferred lines with a slightly darker, more confident pencil stroke. Erase any leftover guidelines or mistakes.
This step is crucial for making your cinnamoroll tekenen look polished and professional.
And there you have it! With these steps, you’ll bring your character to life.
Finishing Touches: Adding Color and Detail
Encourage the reader to finalize their drawing by tracing over the pencil sketch with a black fine-liner pen for a clean, polished look.
cinnamoroll tekenen is all about the details, so take your time with this step.
Outline the classic Cinnamoroll color scheme: a pure white body and ears, bright blue eyes, and a soft pink for the cheeks and mouth.
Offer a simple coloring tip: use light, even strokes with colored pencils to build up color smoothly, avoiding a streaky finish.
Suggest adding a touch of depth by using a light gray or pale blue pencil to create soft shadows under his chin and where his ears overlap his body.
Inspire creativity by suggesting they try their own color variations or add a simple background like fluffy clouds or sparkling stars.