We all know the frustration of dealing with worn or damaged walls. Cracks, holes, and water stains can turn a cozy home into an eyesore. You look around and wonder why you let it get this bad.
Walls are the backdrop of our lives. When they show signs of age, it diminishes the comfort and beauty of your space. It’s easy to overlook, but once you notice, it’s hard to ignore.
I’ve guided countless homeowners through similar transformations, so I understand the common pitfalls. I’ve seen how simple diy wall repair projects can turn a room around.
This guide is here to help you with the knowledge and actionable steps you need. I’ll break down the wall restoration process into manageable tasks.
You’ll learn how to confidently tackle your wall issues and turn challenges into successes. With my practical home improvement solutions, you can create beautiful, functional spaces that reflect your personality. and give your walls the care they deserve.
Inspect Before You Wreck: Important Wall Check
Before you dive into any wall project, you need to inspect thoroughly. This isn’t just a suggestion (it’s) a must. I mean, do you want to fix things or make them worse?
A proper inspection saves you from wasting effort or hitting unexpected snags.
Let’s talk damage. Hairline cracks, larger structural cracks, nail holes, dents, peeling paint, bubbling plaster, and water stains. These are your usual suspects.
Each type tells a story (not a fun one), and diagnosing the cause is key. Is it settling? Moisture?
Maybe the kids went a little wild with that indoor baseball game?
Once you pinpoint the cause, you can tailor your repair method. And that’s key. Are you simply refreshing the room’s look, or is this a full-blown transformation?
Define your restoration goals clearly.
Here’s a pro tip: create a ‘damage map.’ This checklist helps track issues systematically. You know, so you don’t miss that sneaky crack behind the sofa. Trust me, having a plan makes your diy wall repair project less of a headache.
Now, ready to grab that toolkit and get cracking?
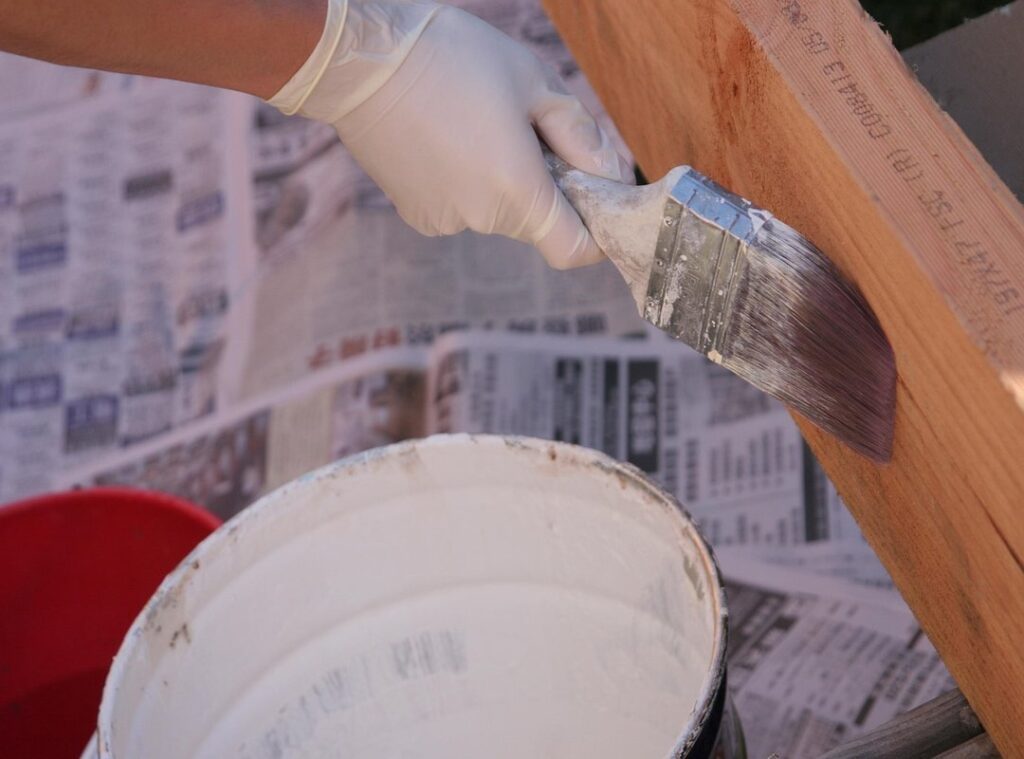
Your Restoration Toolkit: Tools You Need
Ever tried a diy wall repair without the right tools? Not fun. Let’s talk essentials.
You need putty knives (different) sizes matter. A wide one works wonders for smoothing. Sandpaper comes next.
Various grits, obviously, because your wall isn’t a one-size-fits-all.
Got a utility knife? Great. You’ll need it for precision cuts.
For bigger jobs, a drywall saw is a must. Then there’s joint compound and spackle. Don’t skimp.
Quality affects the finish. Use different spackles for small versus large holes. Trust me, you’ll notice the difference.
Primer and paint go hand-in-hand. Opt for stain-blocking primers. They’re lifesavers in hiding old stains.
And let’s not forget safety gear. Gloves, masks. You don’t want dust in your lungs, right?
Now, optional tools. A sanding block makes life easier. A work light, because good lighting is underrated.
A paint roller extension pole? Your back will thank you.
Choosing quality over cost pays off. Especially with joint compounds and primers. Want more tips on home improvement?
Check out these maximizing closet space tips. Good tools make all the difference. Don’t wing it; get the right stuff.
Your walls. And sanity (will) thank you.
Mastering Minor Repairs: Patching Holes and Cracks Like a Pro
Patching small nail and screw holes isn’t rocket science. You just need a little spackle and some patience. I always start by scooping out a small amount with a putty knife.
Then, apply it directly into the hole. Don’t just slap it on. Smooth it out with your knife, feathering the edges to blend it with the wall.
Hairline cracks? They’re pesky but manageable. First, clean the crack thoroughly.
Dust and debris are your enemies here. Then, apply lightweight spackle or joint compound. Here’s the kicker: let it dry completely.
If you rush this step, you’ll be back to square one.
Minor dents and dings follow a similar process. Feathering is key. It’s like blending eyeshadow (if you’re into that).
The goal is to match the surrounding texture.
Sanding is where the magic happens. Use a sanding block to keep pressure even. Start with coarser grit, finish with finer.
Don’t forget to clean the dust between steps. This prevents uneven surfaces later.
Want more tips on diy wall repair? Dive in and fix those walls like a pro.
Mastering Wall Fixes: Drywall Dilemmas and Stain Solutions
Ever stared at a gaping hole in your drywall and thought, “What now?” I have. Tackling big drywall repairs might sound daunting, but trust me, it’s doable. Start with a drywall patch kit or grab a new drywall piece.
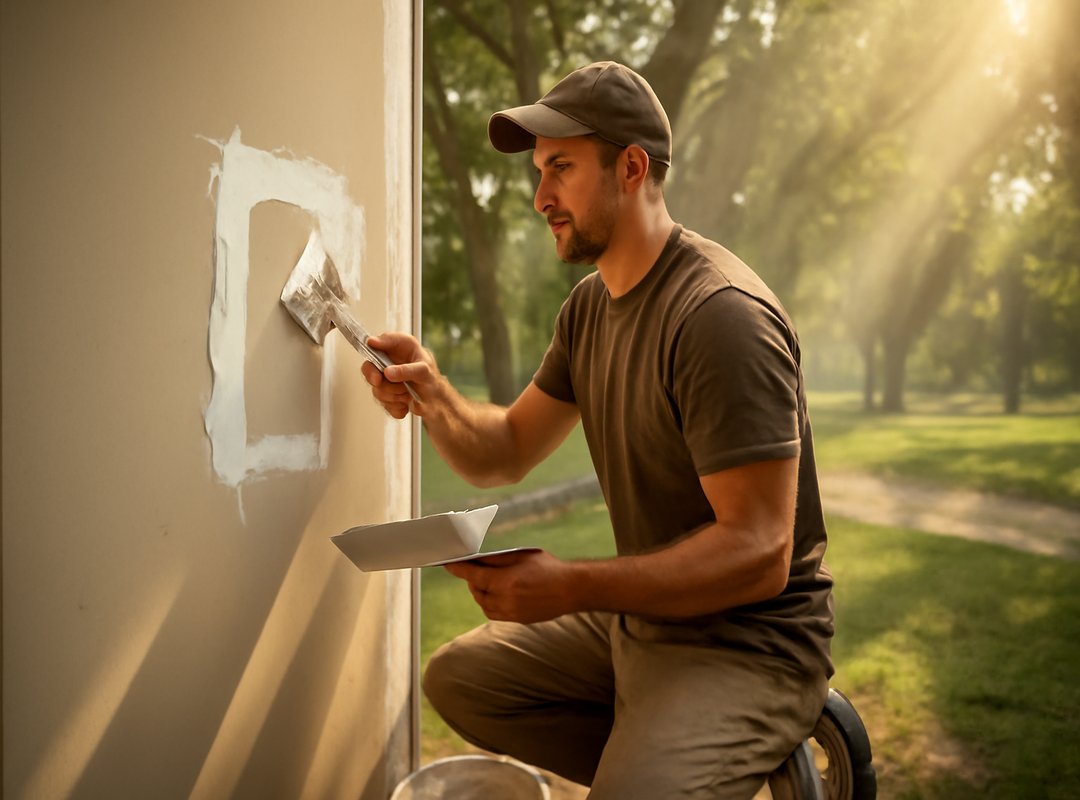
Measure and cut out the damaged section. It’s like surgery for your walls (minus the blood). Make sure the patch fits snugly.
Applying joint compound is key. Layer it thinly over seams and fasteners. Patience pays off here.
Thin coats prevent cracks. You don’t want your wall looking like a dried-up lake bed, do you?
Now, let’s talk water stains. First, find the source. Water stains don’t just appear out of nowhere.
Clean the area, then seal it with a quality stain-blocking primer.
Dealing with peeling paint or bubbling plaster? Scrape off the loose bits. Prep the surface well.
Pro tip: Take your time with this. Rushing through diy wall repair can lead to more headaches. Multiple coats are your friend.
Use the right primers.
So, are you ready to face your wall issues head-on? Dive in, and make those walls look like new. No more staring at imperfections.
Fix them!
Prepping for Paint: The Secret to a Flawless Finish
Let’s get real: if you skip the prep, your walls will mock you forever. Trust me, I’ve learned the hard way. You can’t just slap paint on a wall and expect magic.
Start with a clean slate. Dust, grease, grime. They’re like the villains of the paint world.
They mess with adhesion, leaving you with a peeling nightmare.
And then there’s sanding. Don’t skip it! Sanding smooths out imperfections.
It’s the secret to an even finish. Primer? It’s like the unsung hero.
It seals, ensures uniform absorption, and boosts durability. Choosing the right primer matters. Different types for different walls and paint.
Wondering how to choose the right paint for your space? It’s all about knowing your walls and paint type.
Here’s a pro tip: take your time with edges and give each coat its due drying time. Rushing this step? Big mistake.
Do it right, and your walls will thank you. It’s the foundation for great diy wall repair and a professional look.
Transform Your Space Today
You’ve got what it takes to tackle those tired, damaged walls. Now, you can create beautiful surfaces that boost your home.
By following these step-by-step instructions, you’ll get professional-looking results. Your confidence will soar as you see your hard work pay off.
So why wait? Gather your tools and start with a small project. Feel that satisfaction as your space transforms before your eyes.
I want to hear about your successes. Share your diy wall repair triumphs or dive into more home improvement ideas on our site. Let’s make your home a reflection of you.
Your beautiful walls are just a project away.